
This website may contain affiliate links. When a purchase is made through our links, The Naked Diabetic may receive a commission, at no cost to you.
 . Recipe created by Tracey of The Naked Diabetic
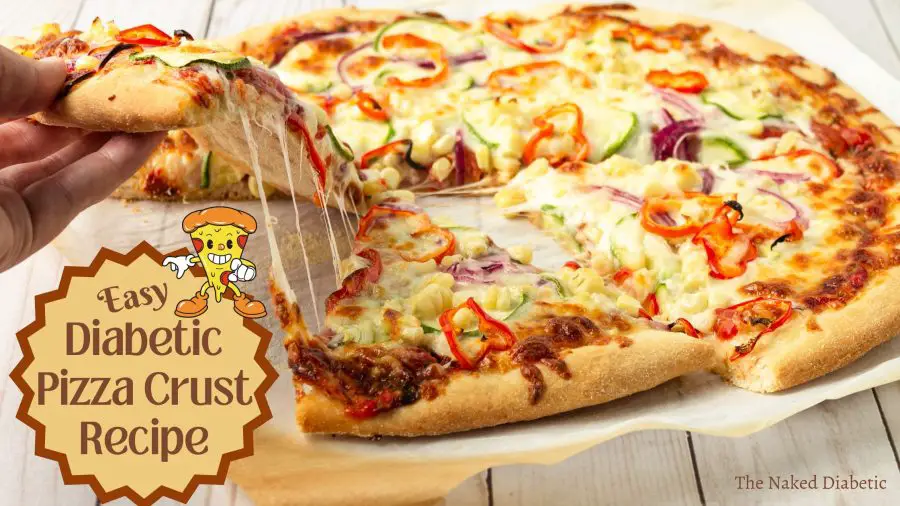
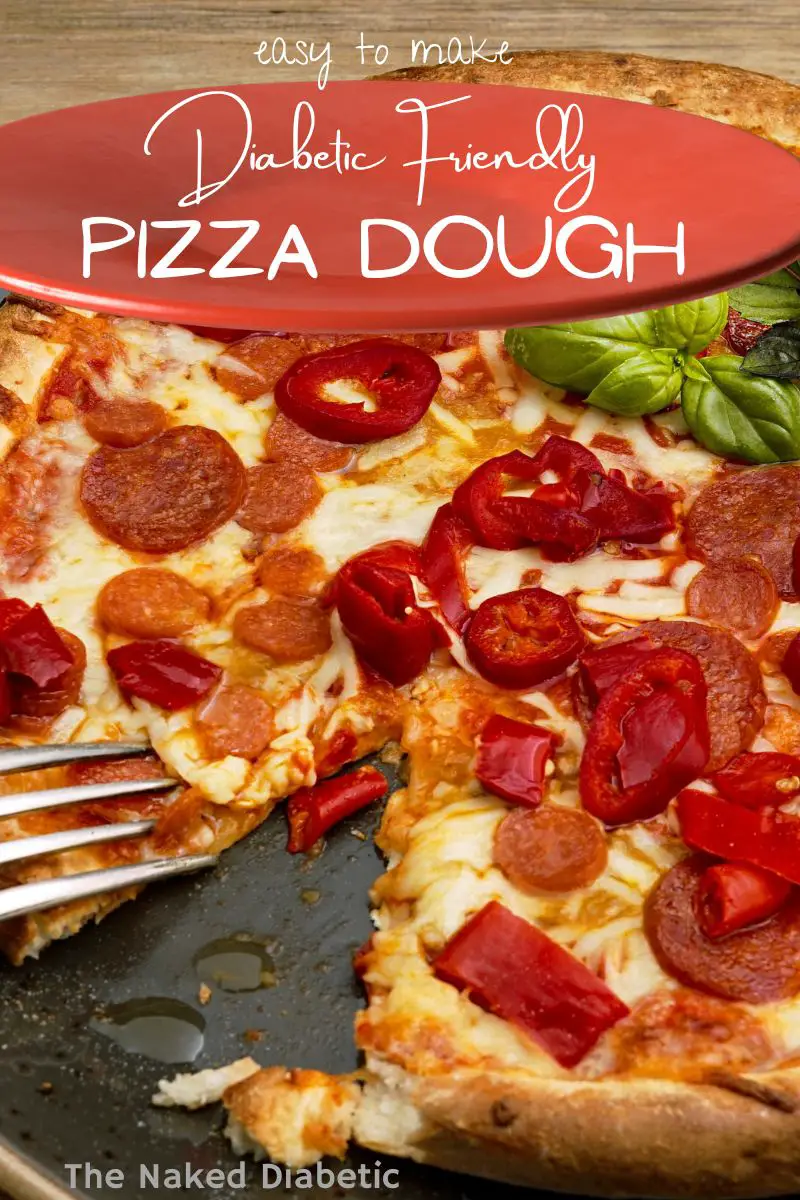
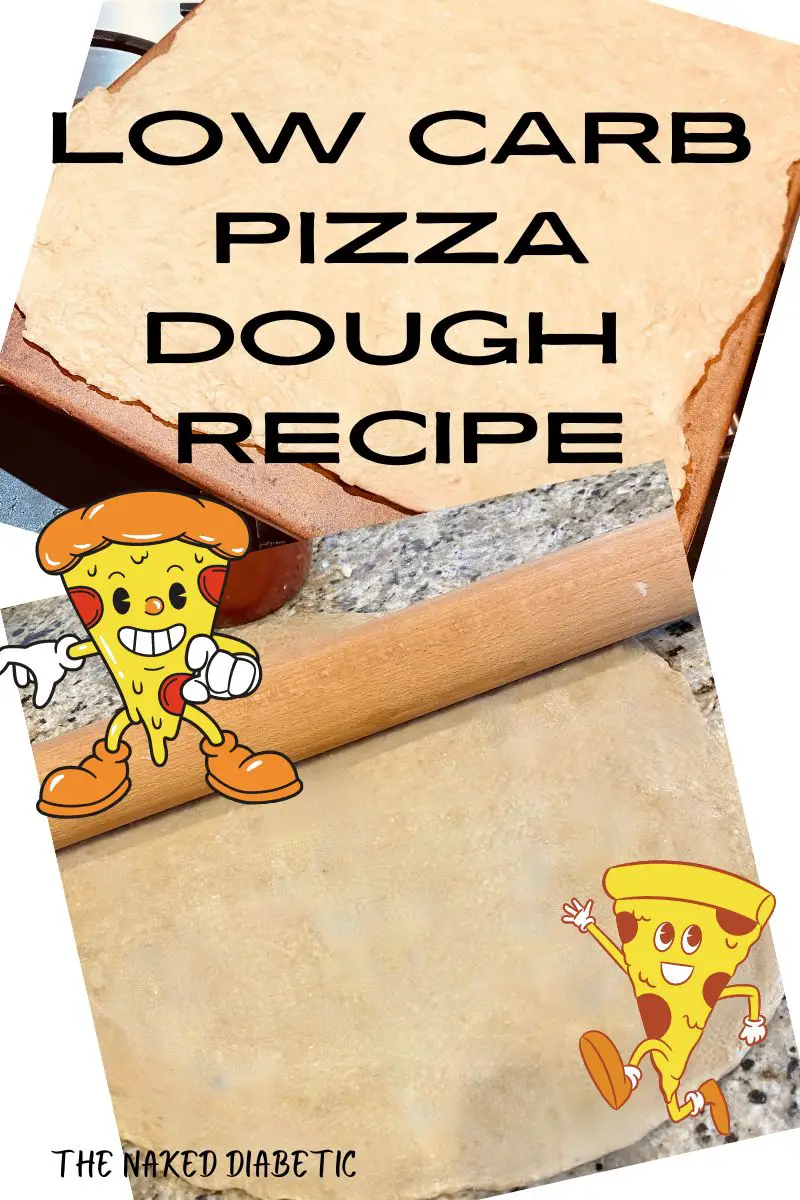
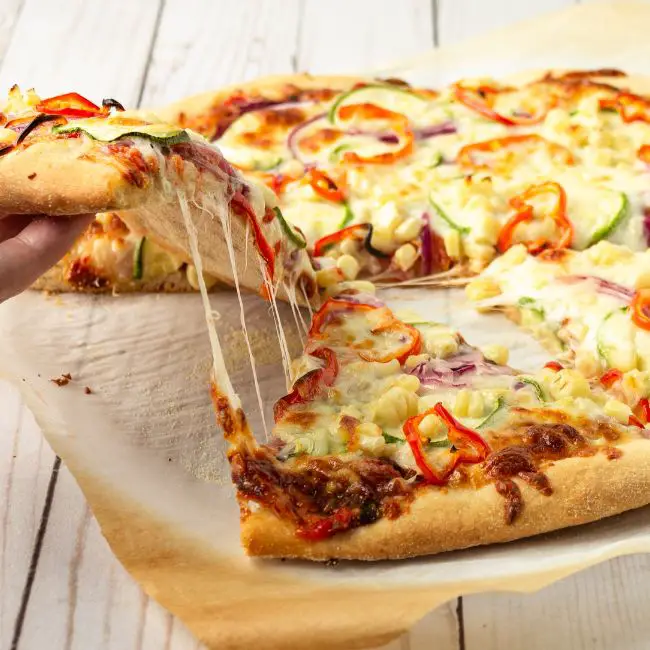
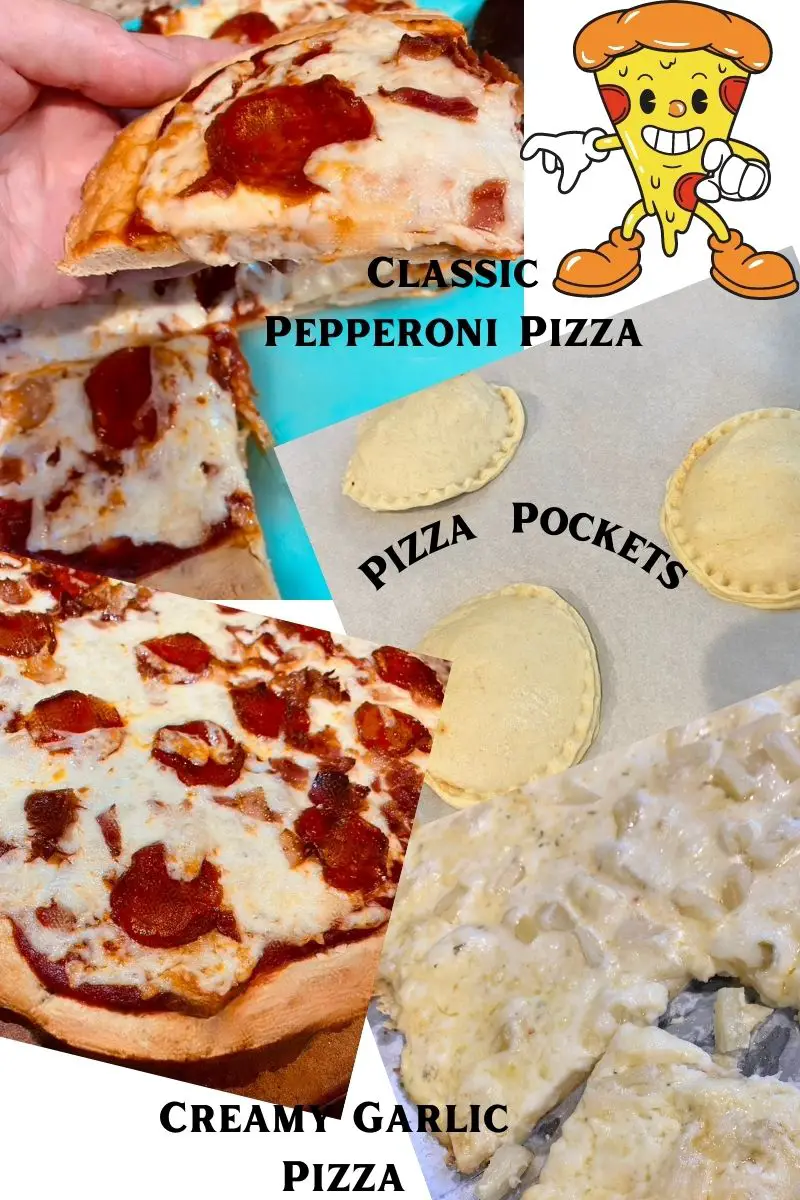
This is easy diabetic pizza crust is seriously good. It is rollable and stretchable and tastes like the real thing. Because this diabetic pizza crust is rollable, you can make pizza pockets, mini pizzas and even panzarottis that are all diabetic-friendly. One of the best things is that by making your own pizza crust, you control the carbs and choose your toppings. Top it with our Low Carb Diabetic Pizza Sauce and enjoy a family pizza night.

Special Equipment
- Electric mixer (optional)
- Sifter or Sieve
- pizza stone or pizza pan
- rolling pin
- plastic wrap
Ingredients List
- King Arthur keto Wheat Flour
- dry active yeast
- olive oil
- salt
- sugar (that’s right, but just a little)
Pro Tips and FAQs
About the flour
In this diabetic pizza crust recipe, I have used King Arthur Keto Wheat Flour. The pizza dough resembles whole wheat flour dough. I have tried a couple of low-carb flours, and the results have been mediocre at best. Because we want our dough to rise, I have found that King Arthur works the best for me. Carbalose flour works very well if you want a lighter-coloured crust. Almond flour did not rise much, and the dough was gritty. Coconut flour also had little to no rise, and it was hard to get the liquid amounts in the right proportions. King Arthur Keto Wheat responds to the yeast, similar to all-purpose flour, so it is my first and only pick.
You can also use half King Arthur Keto flour and half Carbalose flour. It works well and keeps the crust colour lighter and the carbs low.
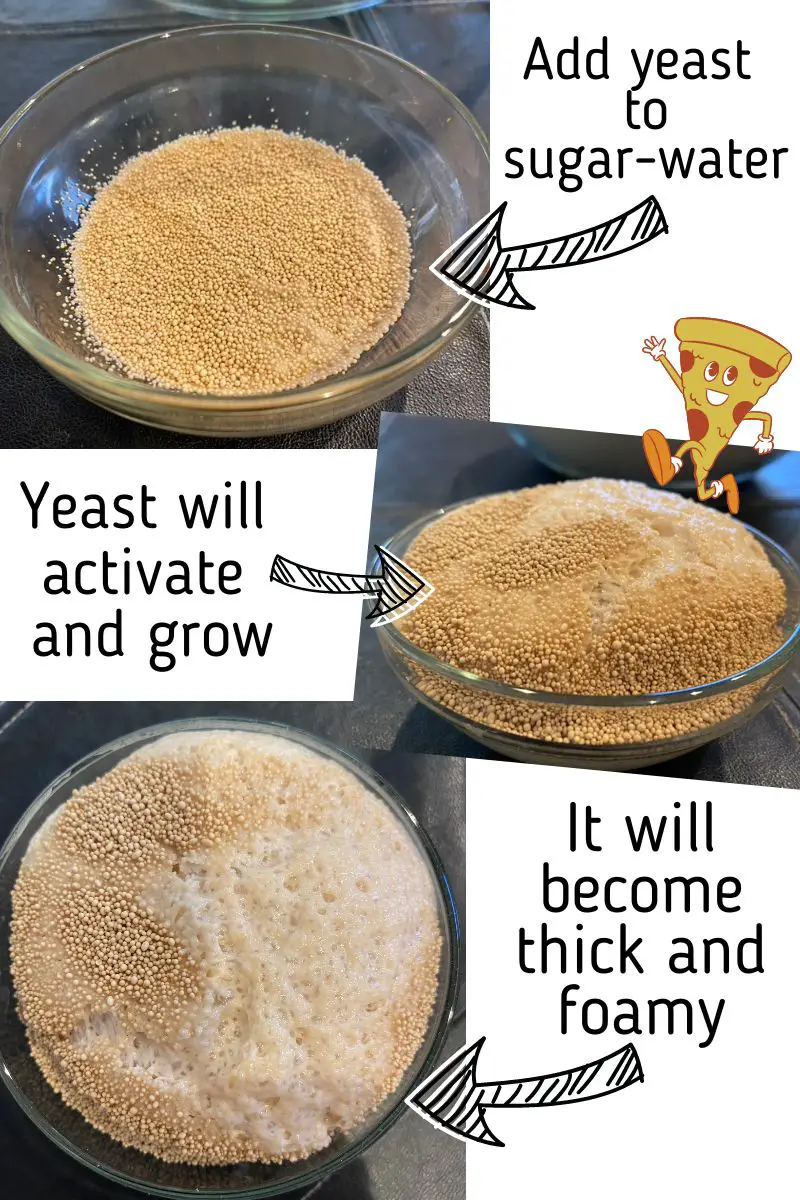
The water temperature for the yeast
Warm water is a must to activate the yeast. Once the yeast mixes with the warm water, it activates, and it begins to grow and multiply. Make sure that the water is warm, not hot and not cold.
100 degrees F is the best temperature for activating the yeast, but honestly, I make sure it is warm to the touch (using my wrist). Feel free to check the temperature with a candy thermometer if you want to be perfectly sure. Water that is near 120 degrees causes the yeast to start to die, and water under 100 degrees F doesn’t activate the yeast very well.
Why do I need sugar with the yeast?
Yeast feeds on sugar, so the sugar gives the yeast a boost. Just a pinch is all you need! Once the yeast grows, it will produce its own food and gases, hence the rising process. Sugar Substitutes do not work when activating the yeast, so this is one of those few occasions that we need a touch of the sweet stuff.
We are using low-carb flour, which will have less sugar in it for the yeast to feed on. This is an important step to get the best results. This is the main reason that many low-carb flours have difficulty rising. There is little to no sugar for the yeast to feed on and multiply.
Since we are only using a pinch and it is spread out over the entire pizza crust, it will remain diabetic-friendly.
Why didn’t my dough rise?
If your dough hasn’t risen, there are only a few reasons why.
1 – Temperature – Yeast needs a warm environment. The temperature of the water when activating the yeast, the temperature of the dough and the environment you place the dough. You need warm water, which makes warm dough, and you need a warm environment. If your kitchen is not warm, the yeast may not rise fully.
2- Quality of your yeast – Using dead yeast means that the dough will not rise. The only solution is a yeast that is alive and activated. Always check expiry dates.
3 – Amount of Yeast – This is especially important when cooking low-carb or diabetic-friendly doughs. I often increase the amount of yeast in my diabetic-friendly bread and dough as low rising is a common problem in low-carb baking.
4- Other ingredients – Too little water or too much salt or other spices can kill the yeast. Be mindful of amounts when adjusting recipes.
5- Time – The amount of time you have allowed the dough to rise. Perhaps you have not waited long enough. Times can vary depending on all the factors mentioned above. If your dough has not doubled in size within an hour, try giving it more time.
6- Elevation – Anyone who lives in an area of high elevation already knows that this affects dough rising and baking times. Adjust accordingly.
How can I tell if my yeast is alive or dead?
As you know, when you open a packet or jar of yeast, the yeast looks like tiny granules. These are dormant fungi. When the yeast comes in contact with warm water, it comes alive.
If you have the proper temperature water and your yeast mixture does not dissolve or form a bubbly, almost frothy appearance, there’s a very good chance the yeast is dead. There is nothing you can do to bring it back to life. Always check for expiry dates before using the yeast. Other factors can cause yeast to die, such as being stored open or other storage issues that don’t keep the yeast fresh. Your only option is to start over with a new packet of yeast.
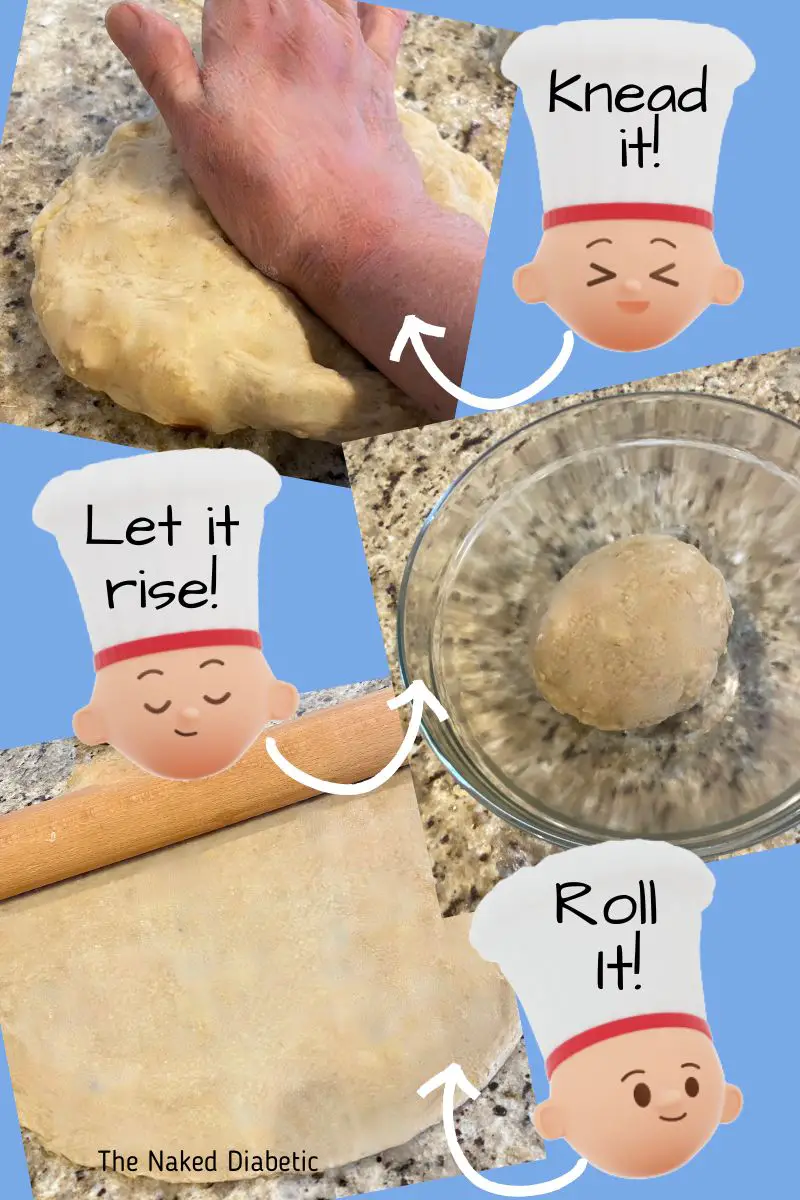
Kneading the dough.
Knead the dough on a lightly floured surface. Only a small amount of flour is needed.
Knead the dough until it is smooth and stretches and bounces back (has elasticity). This should take about 8 to 10 minutes if kneading by hand (recommended) and 5-7 minutes by machine.
I find the best results come when kneading by hand. Use the heel of your hand and push and roll the dough forward, turning the dough and repeating. The kneading is done when the dough is no longer sticky and springs back when poked.
Why should I oil the bowl and the dough?
Two reasons (important ones) that you oil the bowl and the dough are to keep the dough from sticking to the bowl and also to keep the outside of the dough from drying out. The small amount of oil on the dough will just get worked into it when you punch it down after it has risen.
Tips for getting a good rise.
Yeast should be warm to properly activate. If any of your ingredients are cold, allow them to get to room temperature before making this recipe. Some people store their flour in the refrigerator, and cold flour will keep your dough from rising.
Make sure that the bowl you place the dough into is warm. I place mine into the warming drawer of my oven, set to the lowest temperature
If you don’t have a warming drawer, you can turn your oven on and set it to the lowest allowable temperature (usually around 200°F). Once the oven warms up turn it off.
Leave the door slightly open and place the bowl inside the oven. Make sure that the oven is not hot. You are just going to warm up the oven. Leave the door slightly open during the rising time.
Can I freeze this diabetic pizza crust dough?
If you would like to freeze the uncooked dough, you can, but you may not get the desired results when you thaw and try to get the final rise out of it. I made this dough, allowed it to complete the first rise, punched it down and froze it. When I thawed it didn’t rise as high as I expected, but it was just ok.
I recommend making the full recipe and then baking your diabetic pizza crust without the toppings, freezing it and then thaw and add toppings and bake. When you pre-bake the crust, bake until it turns a golden colour and then remove it from the oven. Let cool and freeze wrapped in plastic wrap or extra-large Ziploc bags. Bake at 450 degrees F for 8 to 10 minutes.
Adding Flavours to your diabetic pizza dough.
You can easily add some flavouring to your dough, such as garlic. I recommend only adding a slight amount and using a flavouring, such as garlic-flavoured olive oil. Adding too much to the dough affects the ability of the dough to rise.

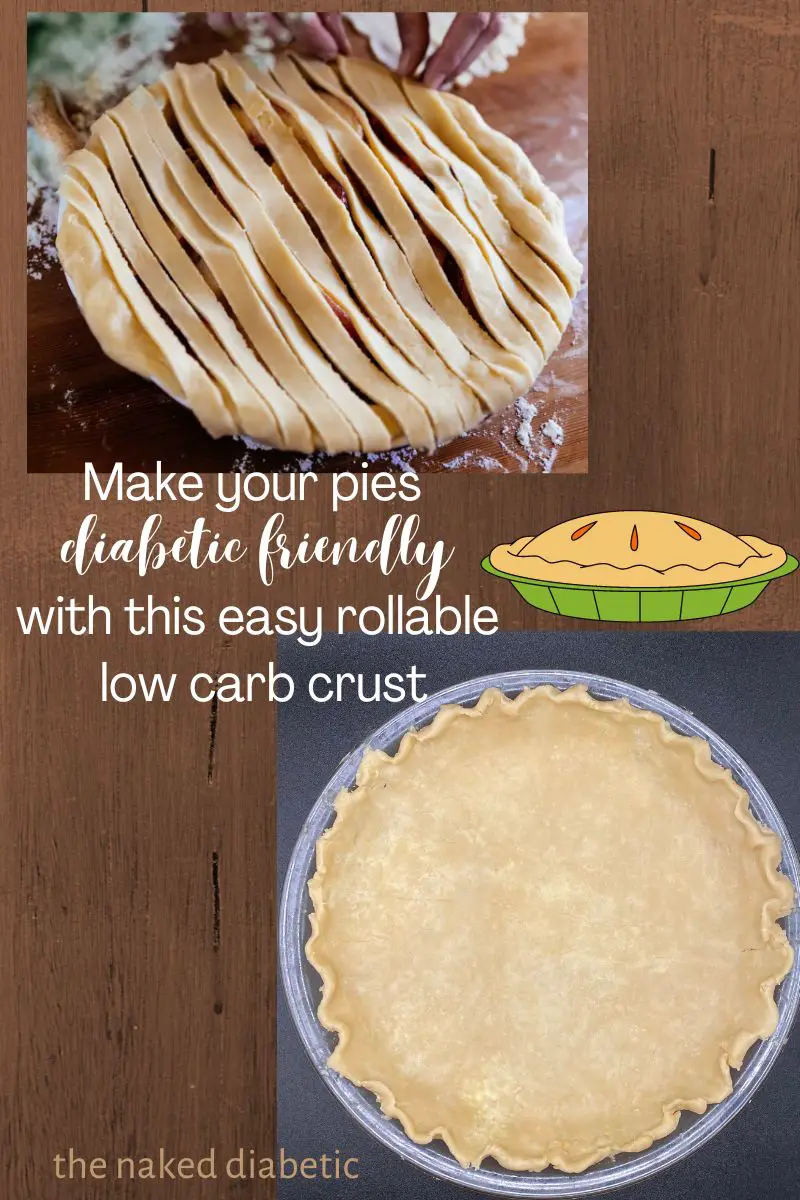


The Recipe for Low-Carb Diabetic Pizza Crust
Low Carb Diabetic Pizza Crust Recipe
Ingredients
- 2 ½ tsp Active Dry Yeast
- 2½ cups King Arthur Keto Wheat Flour
- 1 cup warm water
- 1 tsp Salt
- 1 tsp Sugar – granulated
- 2 tbsp Olive Oil
Instructions
- In a small bowl, dissolve the sugar in 3 tablespoons of warm water.
- Sprinkle the active dry yeast over the surface of the water. Allow to sit for about 15 to 20 minutes, until the yeast is bubbly and cloudy.
- In a large mixing bowl, sift the flour and then mix the flour and salt together.
- Add the water, oil and yeast and mix and knead the dough together.
- Knead until the dough is smooth and elastic. If the dough is too dry, feel free to add a small amount of water.
- Form the dough into a smooth ball.
- Place into a large greased mixing bowl, covered in plastic wrap and set aside in a warm location to rise.
- The dough has fully risen when it has doubled in size. It usually takes about 60 to 90 minutes to fully rise.
- Punch the dough down and knead it for a few minutes. (5-7)
- Decide how large of a pizza you desire and separate the dough into portions. This recipe makes one large (16 inch) round pizza or 2 smaller pizzas.
- Roll the dough, into the shape(s) desired about 1/4 to 1/2 inch thick.
- Place on a pizza stone or lightly oiled pizza pan and allow to rise for about an hour or up to 90 minutes.
- Preheat your oven to ( 230C) 450 °F
- Bake in the center of the oven until the top of the crust is just beginning to become golden.(about 6 to 8 minutes )
- Remove the crust from the oven and add toppings.
- Return to the oven and bake for an additional 10 minutes or until cheese is well melted and the crust reaches the desired brownness. For a crispy crust, bake longer.
- Remove from the oven and allow to sit for 3-5 minutes and then. slice with a pizza cutter.
- Enjoy!
Nutrition
This information is for the entire Diabetic Pizza Crust recipe using the ingredients listed in the recipe. Divide the information above by the number of servings you have. This will allow you to make pizza, pizza pockets, pizza sticks and panzarotti with this and easily calculate the nutrition information. Don’t forget to account for your toppings as well.
For Example
Divide this diabetic pizza Crust Dough into 12 servings and get 116 calories, 4.75 grams of total fat, .3 grams of saturated fat, 8 grams of total Carbs, 3.5 grams of fibre, 4.5 grams of Net carbs and 14.5 grams of protein.

This website may contain affiliate links. When a purchase is made through our links, The Naked Diabetic may receive a commission, at no cost to you.