

This website may contain affiliate links. When a purchase is made through our links, The Naked Diabetic may receive a commission, at no cost to you.
 . Recipe created by Tracey of The Naked Diabetic
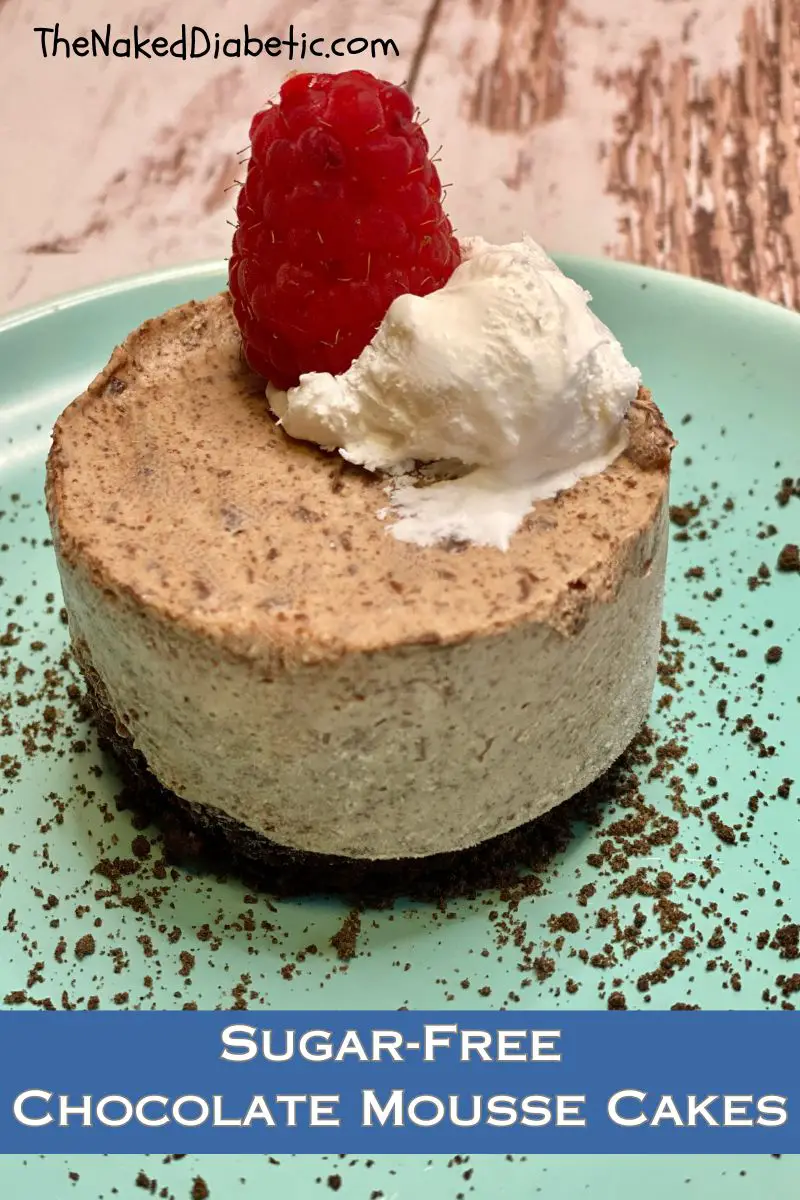
Just because you are diabetic doesn’t mean you can’t enjoy a decadent chocolate dessert. There is always an abundance of chocolate desserts around Valentine’s Day, so why not add some sugar-free choices for us diabetics? Our Sugar-Free Chocolate Mousse Hearts are perfect for everyone, not just diabetics.

Valentine’s Day is the perfect time to celebrate the love of chocolate. You could make an awesome dessert buffet, that includes our Sugar-Free Chocolate Cheesecake, our Sugar-Free Chocolate Brownies and these delicious Sugar-Free Chocolate Mousse hearts. Wow, talk about Chocolate heaven.
How to Make Sugar-Free Chocolate Mousse Hearts

Special Equipment
- heart moulds
- mixer (stand or handheld)
- icing piping bag and round tip (optional)
- chocolate drizzler (optional)
- baking sheet
- offset spatula

Ingredients List
- 3/4 cup of Sugar-Free chocolate chips
- 8-ounce low-fat cream cheese
- 1 cup sugar-free Cool Whip (may be called zero sugar)
- 1 tablespoon of liquid stevia
- Walden Farms chocolate syrup (optional for serving)


Sugar-Free Chocolate Mousse Hearts Recipes
Sugar-Free Chocolate Mousse Hearts Recipe
Ingredients
- 3/4 cup Sugar-Free chocolate chips
- 8 ounces low-fat cream cheese (room temperature)
- 1 tbsp liquid Stevia sweetener
- 1 cup sugar-free Cool whip
Instructions
Chocolate heart shells
- Place 1/2 cup of the sugar-free chocolate chips into a microwave safe bowl.
- Melt the chocolate chips in a microwave, using 30-second bursts and stirring in between.
- Place the silicone moulds onto a flat baking tray.
- Place 2 tablespoons of the melted chocolate into each silicone heart mould cavity.
- Spread the melted chocolate around the mould, using a spoon, ensuring coverage on all sides.
- Place the baking tray with the moulds on it into the refrigerator or freezer. (Make sure that it remains flat)
- Chill for an hour.
Chocolate mousse filling
- In a small microwave safe bowl, melt the remaining 1/4 cup sugar-free chocolate chips(as above)
- Once melted, set aside to cool, slightly
- In a mixing bowl, beat the cream cheese until smooth.
- Add the liquid stevia and continue to mix.
- Spoon in the melted chocolate and continue mixing.
- Fold in the cool whip and blend gently until thoroughly mixed.
- Place in the refrigerator to chill while you prepare the shells.
Fill the Heart shells
- Gently pull away the sides of the silicone moulds. This will loosen the sides of the hardened chocolate from the silicone moulds
- Slowly pop out the chocolate hearts (by pushing up) from the bottom.
- Fill a piping bag with mousse and fill each shell (dividing between the four shells)
- Level off the top of the shell with an offset spatula.
- Return to the refrigerator and chill until ready to serve.
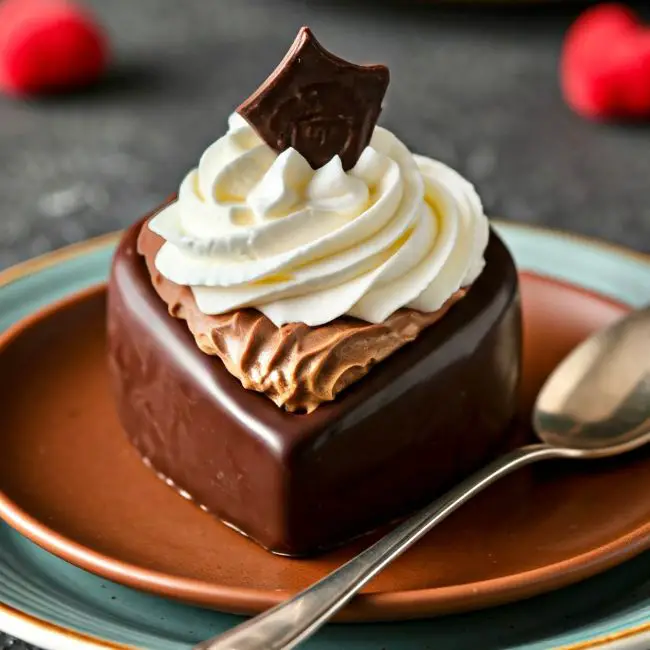
To serve
- Using a chocolate drizzler, drizzle some Walden farms chocolate syrup onto the plate in the desired pattern.
- Place the chocolate mousse filled heart onto the drizzled plate (mousse side down and chocolate side up)
- Drizzle more chocolate over the top and add a spoon of cool whip, if desired,
- Serve immediately.
Nutrition
Nutrition information is provided as a courtesy and is automatically calculated using an online nutrition calculator. We encourage you to calculate nutrition data with your specific brand ingredients as nutritional information can vary between brands

Tips for melting Chocolate
The chocolate can be melted in a microwave or by using the stove-top method. Melting the chocolate for making our heart moulds, is called tempering. Tempered chocolate, just means that it is melted to a smooth consistency. Tempered chocolate will have a smooth, very glossy appearance.
If you are not using chocolate chips, and are using unsweetened chocolate chunks, or baking chocolate, be sure to chop the chocolate into small pieces. This will allow for even melting and a shorter amount of time.
Do not allow the chocolate to get too hot or to boil. Stopping the process just before the chocolate is completely melted is the best way to have well-tempered chocolate. Just finish melting the remaining chocolate by stirring. The heat from the rest of the chocolate will melt the remainder of the chocolate.
Melting Chocolate in the microwave.
- Put your chocolate chips into a microwave-safe bowl.
- Microwave on half power (50 %) for 30-second intervals.
- Stir in between intervals.
- When the chocolate chips are almost completely melted, stir until the remaining chocolate is melted.
Melting Chocolate chips using the stove-top method.
- Bring water in a double boiler pan to a simmer
- If you don’t have a double boiler, use a heat-proof bowl big enough to sit on top of a small or medium-sized saucepan.
- Place chocolate chips into a double boiler’s top pan or a heat-proof bowl.
- place on top of the pan with simmering water.
- Stir continuously while the chocolate melts.
- just before all the chocolate is melted, remove the pan or bowl from the heat.
- Continue to stir until the chocolate is melted.
Make sure that no water or steam gets into the melting chocolate, as this can cause the chocolate to seize.

Adding chocolate to the Heart moulds
Placing your heart moulds onto a baking tray makes it easy to move them to chill after you have filled them with chocolate.
Pour 2 tablespoons of melted chocolate into each heart mould. Using a spoon, push the chocolate up the sides of the mould, making sure all sides and the bottom are well covered. If the chocolate is sliding back into the base, keep pushing it up the sides. As the chocolate begins to cool, it will stay on the sides.

Once the moulds are glazed in chocolate, place them in the refrigerator for about 1/2 hour or in the freezer, for 5 to 10 minutes until completely set.
Removing the chocolate heart shells from the silicone moulds.
The silicone moulds are thin and pliable. Gently release the chocolate from all around the heart shape by gently fulling on the silicone. Once the sides are released, carefully push the chocolate heart out of the mould. If it sticks, release around the edges again and push up again.
Fill the Moulds
I like to use a piping bag. It gives greater control when filling. You can also use a spoon and scoop the mousse into the hearts, just make sure that the mousse doesn’t get on the outside of the shell.


Storing Instructions
Store your sugar-free chocolate mousse hearts in the refrigerator for up to 4 – 5 days. Store them covered with plastic wrap or in an airtight container.

Disclaimer -This post may contain affiliate links. When a purchase is made through our links, The Naked Diabetic may receive a commission, at no cost to you.